
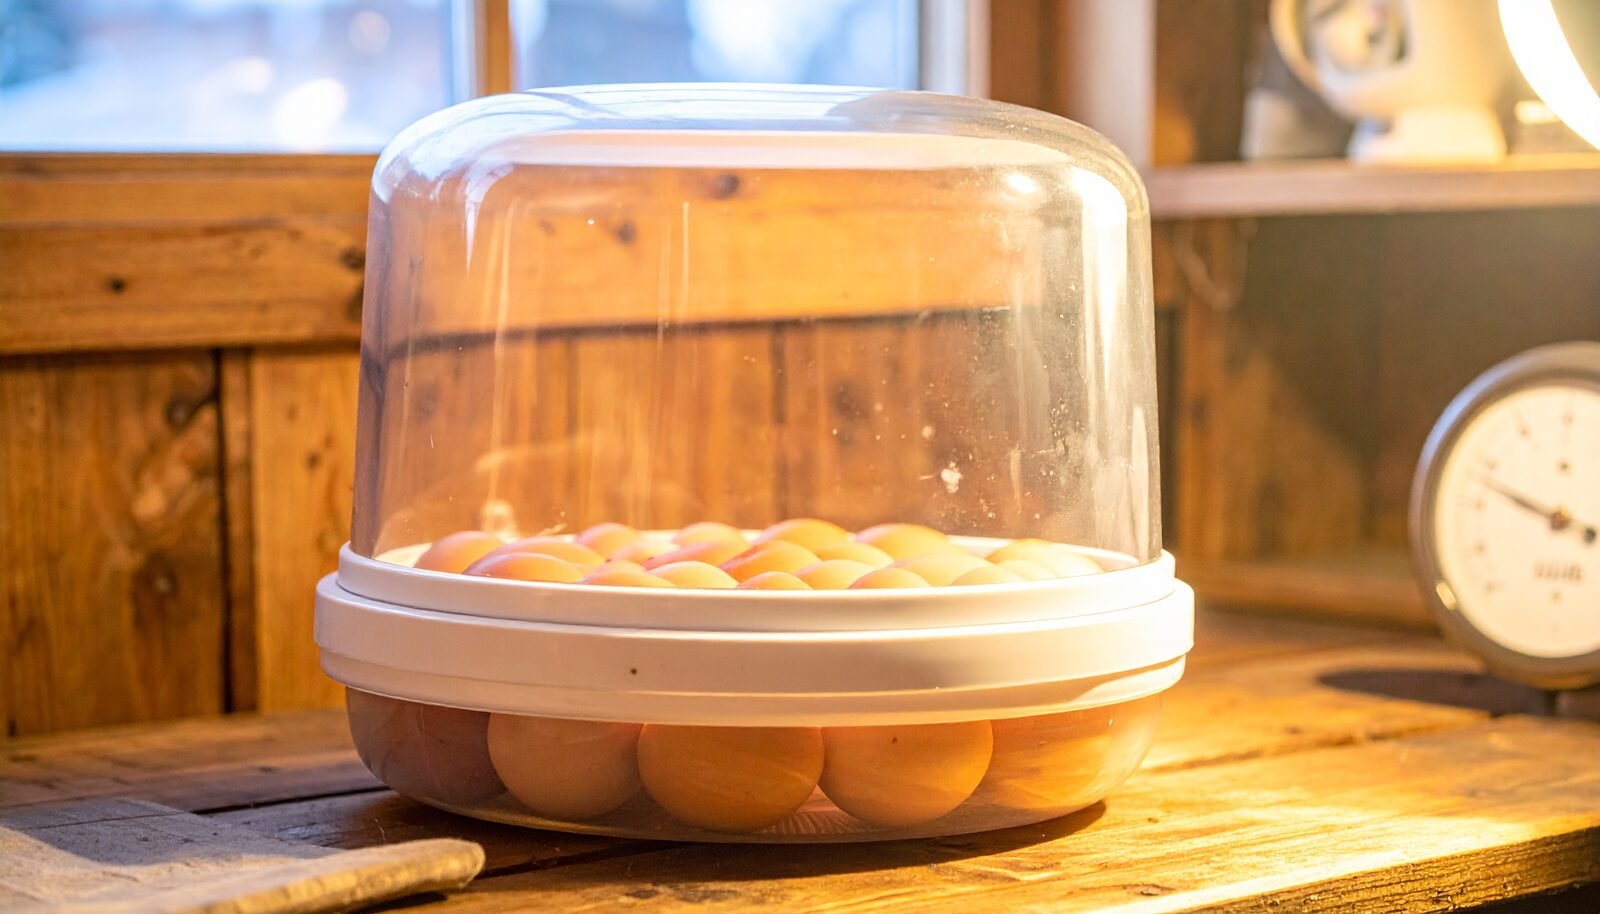
To hatch chicken eggs at home you need four things: an incubator that holds 37.5°C without drama, a separate thermometer and hygrometer you trust more than the built-in one, eggs worth setting, and 21 days of mostly leaving it alone. Most failed hatches are decided in the first 48 hours — before a single egg goes in — by skipping the calibration run. Get the setup right and a home hatch is one of the most satisfying things you’ll do on a small farm.
Here’s the gear, the numbers, and the schedule.
Choosing the incubator
For a first incubator, two features are non-negotiable: forced air (a fan, so the temperature is the same everywhere in the box) and an automatic egg turner (eggs need turning several times a day for 18 days — automate that or your life belongs to the incubator). Humidity reservoirs you can top up from outside are the third thing worth having, because every time you open the lid you dump your heat and humidity.
Be realistic about capacity. A 12-egg machine sounds small until you learn that a 60–80% hatch rate on good local eggs is a solid result — set 12, expect 7 to 9 chicks. Shipped eggs run lower still, sometimes half that, no matter how good your technique is. Buy the size for the flock you actually want.
Calibrate before you set a single egg
Run the incubator empty for 24–48 hours with your own thermometer/hygrometer sitting at egg height. Built-in sensors on budget incubators read wrong often enough that verifying is standard practice, not paranoia. You’re checking that it holds 37.5°C steady (forced air; a still-air unit runs 38.1°C measured at the top of the eggs) and that you can steer humidity up and down with the water reservoirs.
Half a degree matters here. Run hot and you get early, weak hatches; run cold and it drags late or dies off. This is the cheapest insurance in the whole process and the step most often skipped.
Getting eggs worth setting
In BC and Alberta, local fertile eggs from a breeder, a farm group, or a neighbour’s good flock will out-hatch shipped eggs every time — shipping rattles the air cell, and hatch rates show it. If eggs do arrive by mail, let them rest pointy-end down for 24 hours before setting.
Storing eggs while you collect a full setting: cool room around 13–16°C (not the fridge), pointy-end down, tilted or turned daily, and set them within about 7 days — hatchability slides after that.
The 21 days
Days 1–17: 37.5°C, humidity around 45–55%, turner running. Your job is to top up water, glance at the readings, and keep your hands off.
Candling: a bright candler in a dark room, three checks. Day 7 — look for a spider of veins; clear eggs are infertile, pull them. Day 14 — the growing chick fills more of the egg; pull any that stopped (a blood ring or a stuck dark smear). Day 18 — check air cells, then it’s lockdown.
Days 18–21, lockdown: stop the turner, raise humidity to 65%+, and do not open the incubator. Chicks position themselves for hatch in these days, and opening the lid mid-hatch drops humidity enough to shrink-wrap a chick in its membrane. This is where hatches get lost to impatience.
Hatch day: pipping to fully out can take 24 hours — a chick resting halfway through unzipping is normal, not stuck. Helping too early tears membrane veins that haven’t closed. Hatched chicks can stay in the incubator up to a day while the stragglers finish; they’re running on absorbed yolk and don’t need feed or water yet.
Then they go straight into a warm, ready brooder — which is its own bit of preparation. We covered that whole setup in what you need before your chicks arrive, and it applies double when the chicks are ones you hatched.
Time it like a Canadian
A hatch date sets your whole year. Pullets start laying around 18–22 weeks, so eggs set February through May give you birds laying before winter shuts things down. Set eggs in late June and you’ll be feeding teenagers through the dark months waiting on eggs that won’t come until spring. Late winter hatches also mean brooding indoors while it’s still cold out — have the brooder space planned before the incubator is full of pips.
One prairie-and-mountain note: a brief power outage is survivable mid-incubation. Embryos tolerate a few hours of gradual cooling far better than overheating — cover the incubator with a blanket, don’t open it, and let it come back up when the power does.
The hatching kit
What to order ahead — links go to Amazon.ca. The core pieces also live in the Hatching section of our Gear We Use page.
- Incubator with forced air + auto turner — the machine itself; buy for the flock you want. Shop on Amazon.ca →
- Digital thermometer/hygrometer — the second opinion that saves hatches; calibration depends on it. Shop on Amazon.ca →
- Egg candler — a proper high-brightness candler makes day-7 calls easy, even on brown eggs. Shop on Amazon.ca →
- Non-slip liner mats — grippy footing for hatch day and a much easier cleanup after; cut a roll to fit your floor. Shop on Amazon.ca →
- Brooder heat plate — because 21 days goes fast and the chicks need somewhere warm to land. Shop on Amazon.ca → (same item as the chick starter kit)
Eggs themselves: source local. A feed-store corkboard, a local poultry group, or a breeder within driving distance beats anything in the mail.
Shop grow-out gear at the farm
Hatched chicks turn into a flock that needs a pen faster than you’d think — see our welded wire mesh panels and farm fencing for the grow-out run. We’re in Summerland, South Okanagan — get in touch for sizing, pricing and availability.
A quick note: The Humble Goat Stead is a participant in the Amazon.ca Associates Program. As an Amazon Associate we earn from qualifying purchases — at no extra cost to you. It helps keep the farm going, and we only point you to things we’d actually use.