
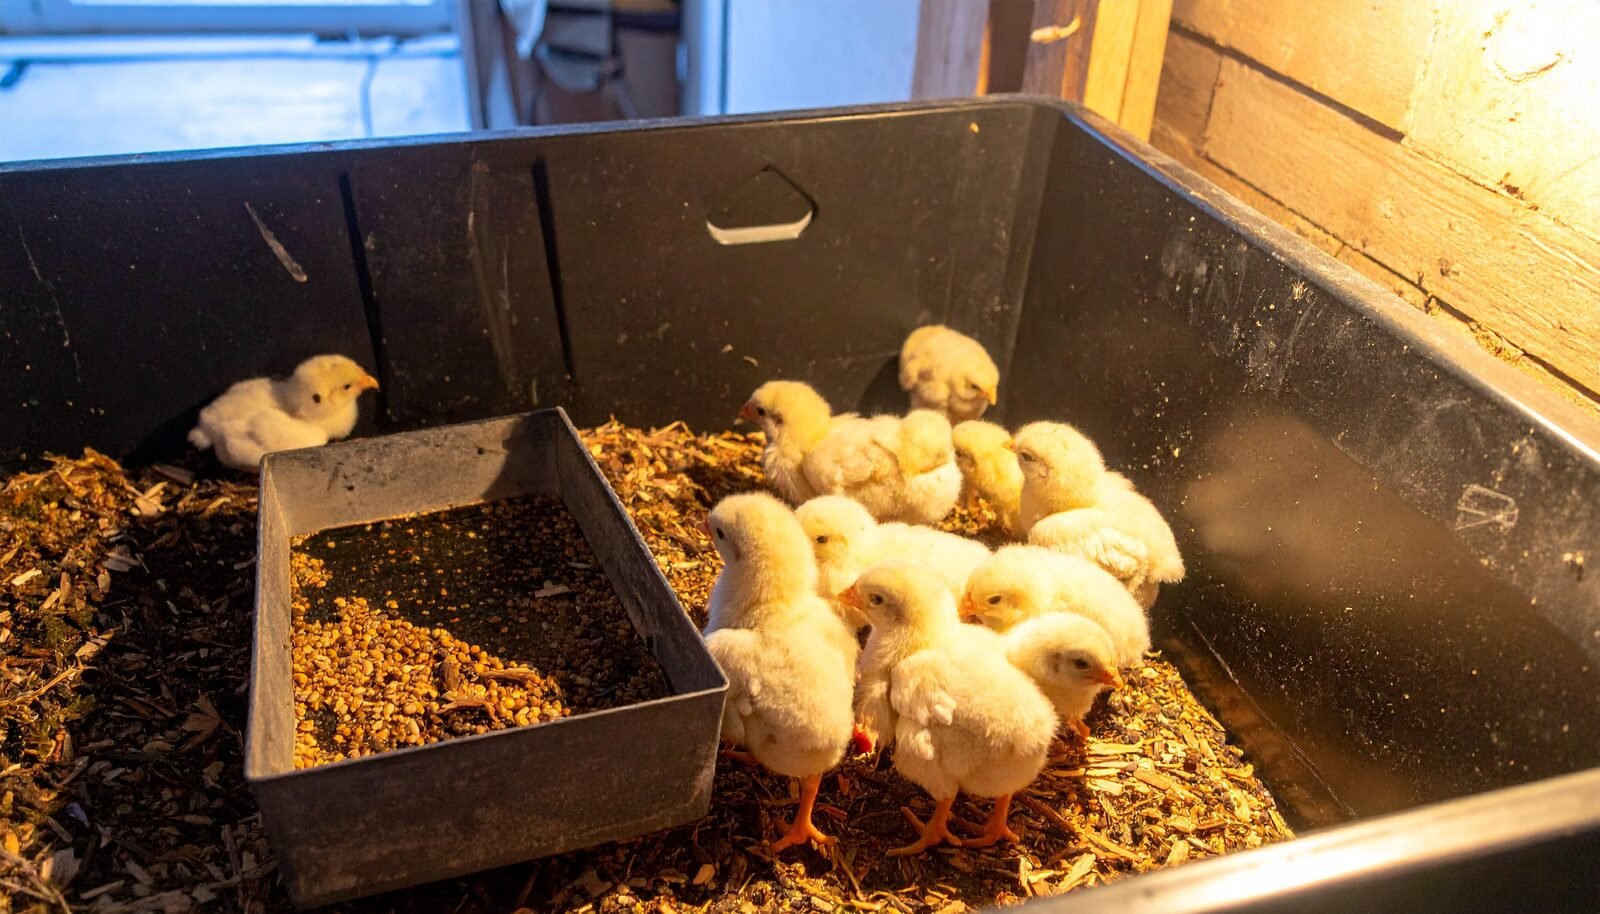
Before your chicks arrive, five things need to be ready and already running: a draft-free brooder, a heat source you trust, chick starter feed, water they can’t drown in, and the right bedding. Set it all up two days early and have it holding 32–35°C at chick height before the box ever shows up. Day-old chicks have no reserves to spare — the first 48 hours decide how the whole batch goes, and that part is bought before they arrive, not after.
Here’s the full setup, what each piece is for, and what we’d skip.
The brooder itself
A brooder is just a warm, safe box — you don’t need to buy anything fancy. A large plastic tote or a stock tub works, and a 100-gallon (about 380 L) stock tub is about the most bombproof brooder there is: tall enough that week-three chicks can’t hop out, easy to disinfect, and useful on the farm forever after. We carry stock tubs in the catalog for exactly this kind of double duty.
Whatever you use, plan for growth. Chicks need roughly 0.1 m² each by six weeks, and they get there fast — a tote that’s roomy in week one is a slum by week four. Either start big or be ready to expand. Top it with hardware cloth if there’s a barn cat or a curious dog in your life.
Put the brooder somewhere with power and no drafts — a garage, mudroom, or heated shop corner. In BC and Alberta, spring nights still drop near freezing, so an uninsulated shed makes your heat source work against the weather instead of with it. Check the overnight temperature at chick height before you commit.
Heat: brooder plate or heat lamp
This is the one place we’d tell you to spend properly.
A brooder heat plate is the better tool for most small batches. It works like a hen — chicks duck under it when cold and come out when warm — draws 20–60 W instead of 250 W, and the fire risk is a fraction of a hanging bulb. If you’ve read a news story about a barn fire in spring, there’s a decent chance a heat lamp was involved.
A heat lamp still earns its keep for big batches or cold spaces — it heats the whole area, not just the floor. If you run one: red bulb (cuts down on pecking), and secure it two ways. The clamp is not a mounting system; it’s a backup for the chain or wire that’s doing the real work.
Targets either way: 32–35°C at chick height in week one, dropping about 3°C per week until they’re feathered out around six weeks. But the chicks are a better thermometer than the thermometer. Huddled in a pile under the heat means cold. Pressed against the far walls, wings out, panting means hot. Spread evenly, eating and sleeping in shifts, means you’ve got it right.
Feed and water
Feed is simple: chick starter crumble, 18–20% protein, from your local feed store — a fresh local bag beats anything shipped, and one small bag gets a batch well started. The choice that trips people up is medicated versus unmedicated. If your chicks were vaccinated for coccidiosis at the hatchery, feed unmedicated — the medication (amprolium) can blunt the vaccine. If they weren’t vaccinated, medicated starter is cheap insurance, especially on ground that’s had poultry before. Your hatchery invoice will say which you’ve got; most Canadian hatcheries offer the vaccine as a checkbox at ordering.
Water needs two precautions in week one: room temperature (cold water chills a day-old chick fast) and drown-proofing — a proper chick waterer with a narrow trough, plus clean pebbles or marbles in it for the first few days. Dip each beak in the water as you unbox them so every bird knows where it is. A packet of electrolytes and vitamins in that first waterer helps shipped chicks bounce back from the ride — cheap, and one of those things you’re glad to have on the shelf rather than ordering while chicks droop.
Bedding
Large-flake pine shavings. Not cedar — the aromatic oils are hard on small lungs. Not newspaper alone — it’s slick, and slick footing in week one is how you get spraddle leg. Lay paper towel over the shavings for the first two or three days so the chicks learn what’s feed and what’s floor, then pull it.
Set up two days early
Run the whole rig for 48 hours before arrival. Dial in the temperature, watch for drafts, make sure nothing trips a breaker overnight. Then the daily rhythm is short: feed, water, a look at every bird, and a check for pasty butt — droppings sealing the vent — every day for the first week. Warm water and a gentle wipe fixes it; ignoring it kills chicks. It’s a two-minute chore that matters more than any gear on this list.
The chick starter kit
What to order ahead — links go to Amazon.ca. The starter pieces also live in the Chicks section of our Gear We Use page.
- Brooder heat plate — the safe, low-draw heat source most small batches should run. Shop on Amazon.ca →
- Heat lamp red bulbs — for big batches and cold spaces; mount the fixture twice. Shop on Amazon.ca →
- Digital thermometer/hygrometer — read the temperature where the chicks live, not where you stand. Shop on Amazon.ca →
- Chick feeder — trough style; keeps crumble in birds, not bedding. Shop on Amazon.ca →
- Chick waterer — narrow-trough design they can’t drown in. Shop on Amazon.ca →
- Electrolytes & vitamins — day-one insurance for shipped chicks. Shop on Amazon.ca →
- Hardware cloth — a lid now, a hundred farm uses later. Shop on Amazon.ca →
From the feed store, not the mail: chick starter crumble and pine shavings. Fresher, cheaper, and you’ll be in there anyway.
Shop brooder gear at the farm
A stock tub makes the best first brooder and never stops being useful — see our plastic stock tubs and welded wire mesh panels for the grow-out pen that comes next. We’re in Summerland, South Okanagan — get in touch for sizing, pricing and availability.
A quick note: The Humble Goat Stead is a participant in the Amazon.ca Associates Program. As an Amazon Associate we earn from qualifying purchases — at no extra cost to you. It helps keep the farm going, and we only point you to things we’d actually use.